Page 3 of 6
Re: Back to the foundry
Posted: Sat Jan 21, 2023 10:10 am
by Jammer
What's happening, it's been 6 days! The most excitement we've had for a couple years. OK, I know how these projects go step by step until something else pulls us away and it take some time to get back at it.
My problem is I have the attention span of a 3-year-old. Probably why my 5 y.o. Granddaughter likes to hang out with me, we jump from one little project to another, she likes to help. Her brother, 15 y.o., just likes to play video games but helps if I ask him or he gets curious to see what we're doing.
Re: Back to the foundry
Posted: Sat Jan 21, 2023 11:41 am
by Rasper
Old age has slowed me down. I finally got the girl ready to invest and this morning I did it. It was elbows and assholes for a few hours.
The foundry floor after investing:
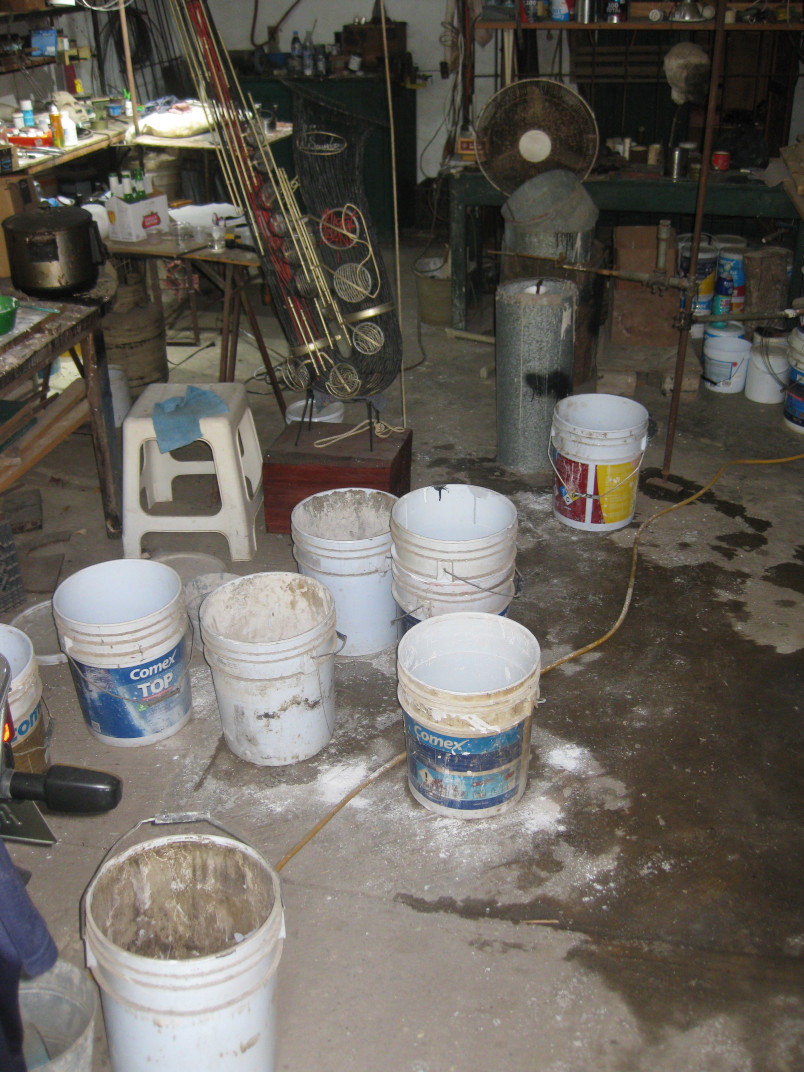
Pay no attention to the saxophone.
The investment:
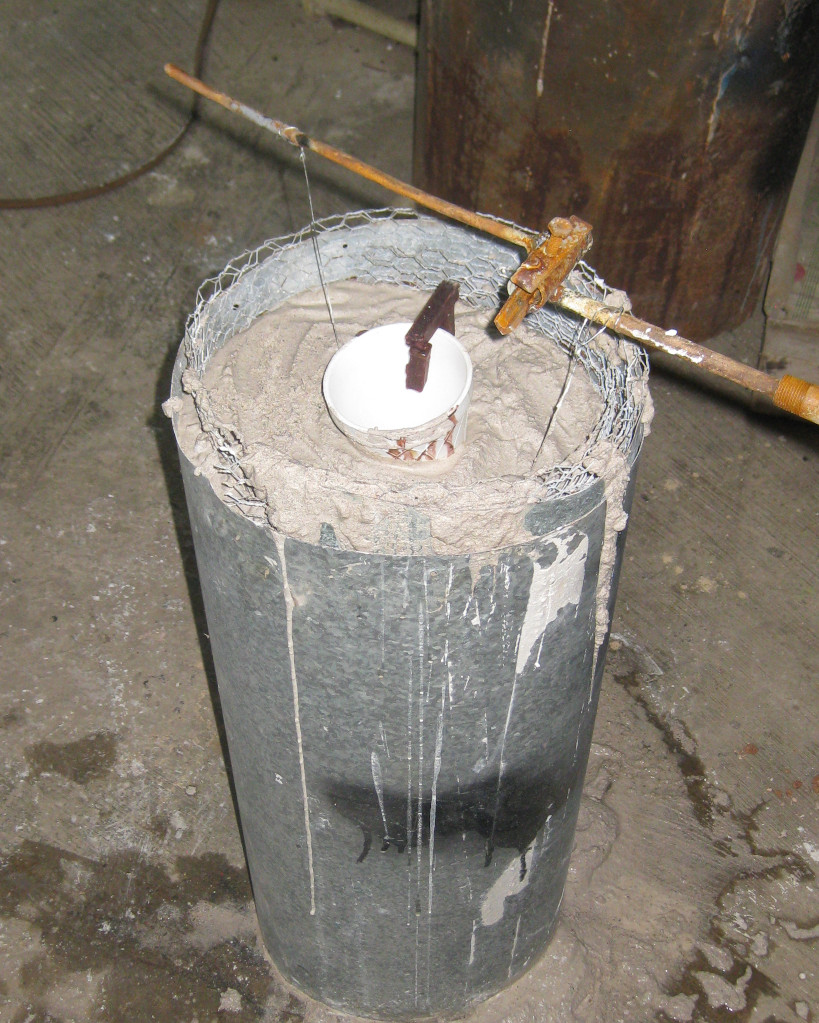
The investment material is one part plaster, one part silica sand, and one part ludo (which is old investment material pulverized and sifted). When it has cured, maybe overnight, it then goes to the kiln for burn-out. I like to put investments in the kiln before the free water has evaporated. I think it carries the heat in quicker and melts the wax sooner. Wax expands when heated. My theory is that the investment is more prone to cracking from that expansion after it is dry.
The melting out of the wax is only the first job of burn-out. Then the wax residue that has soaked into the investment has to burn out, and the chemically bound water in the plaster must go as well. If not, when 2300 degree molten bronze goes in, the chemically bound water becomes steam and the casting becomes scrap.
Richard
Re: Back to the foundry
Posted: Thu Jan 26, 2023 2:34 pm
by Rasper
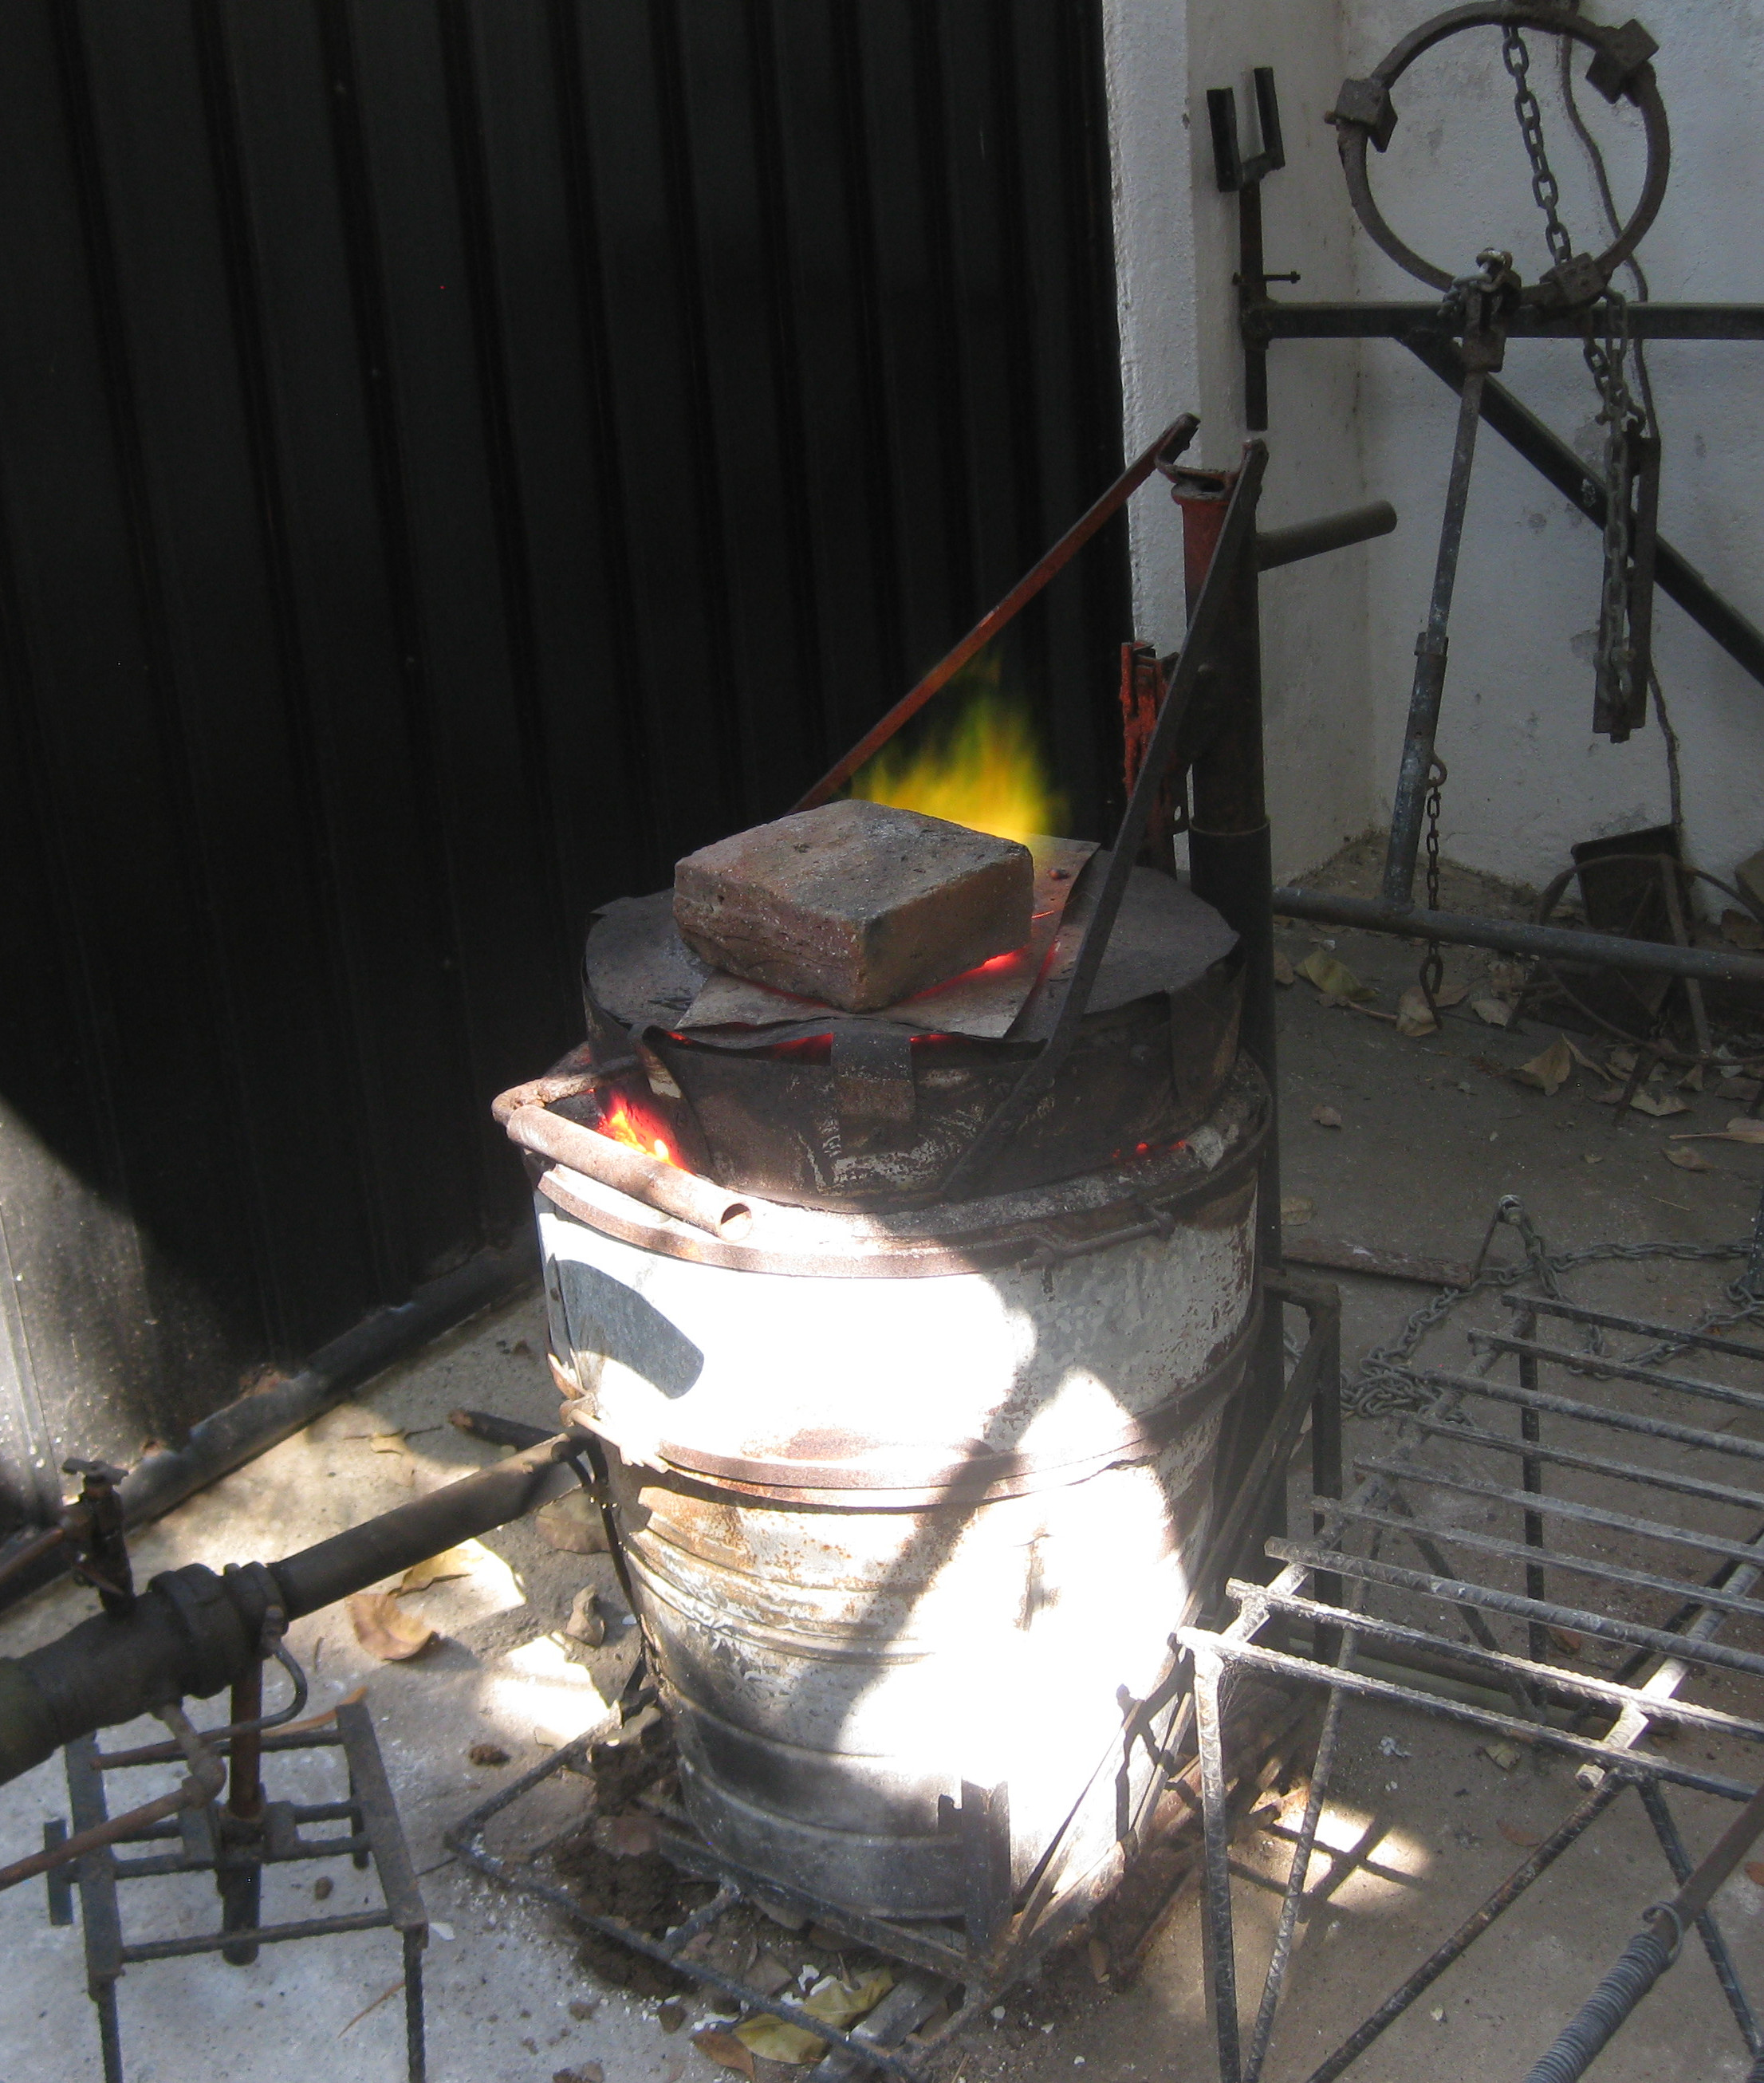
I burned out the investment for four days and nights at 1000 F. This morning I shut off the kiln burner and lifted off the kiln body with the gantry crane. The investment looked perfect. So I fired up the small furnace and began heating metal.
I poured it at 2050 F. No bubbling or steam. Poured perfectly.
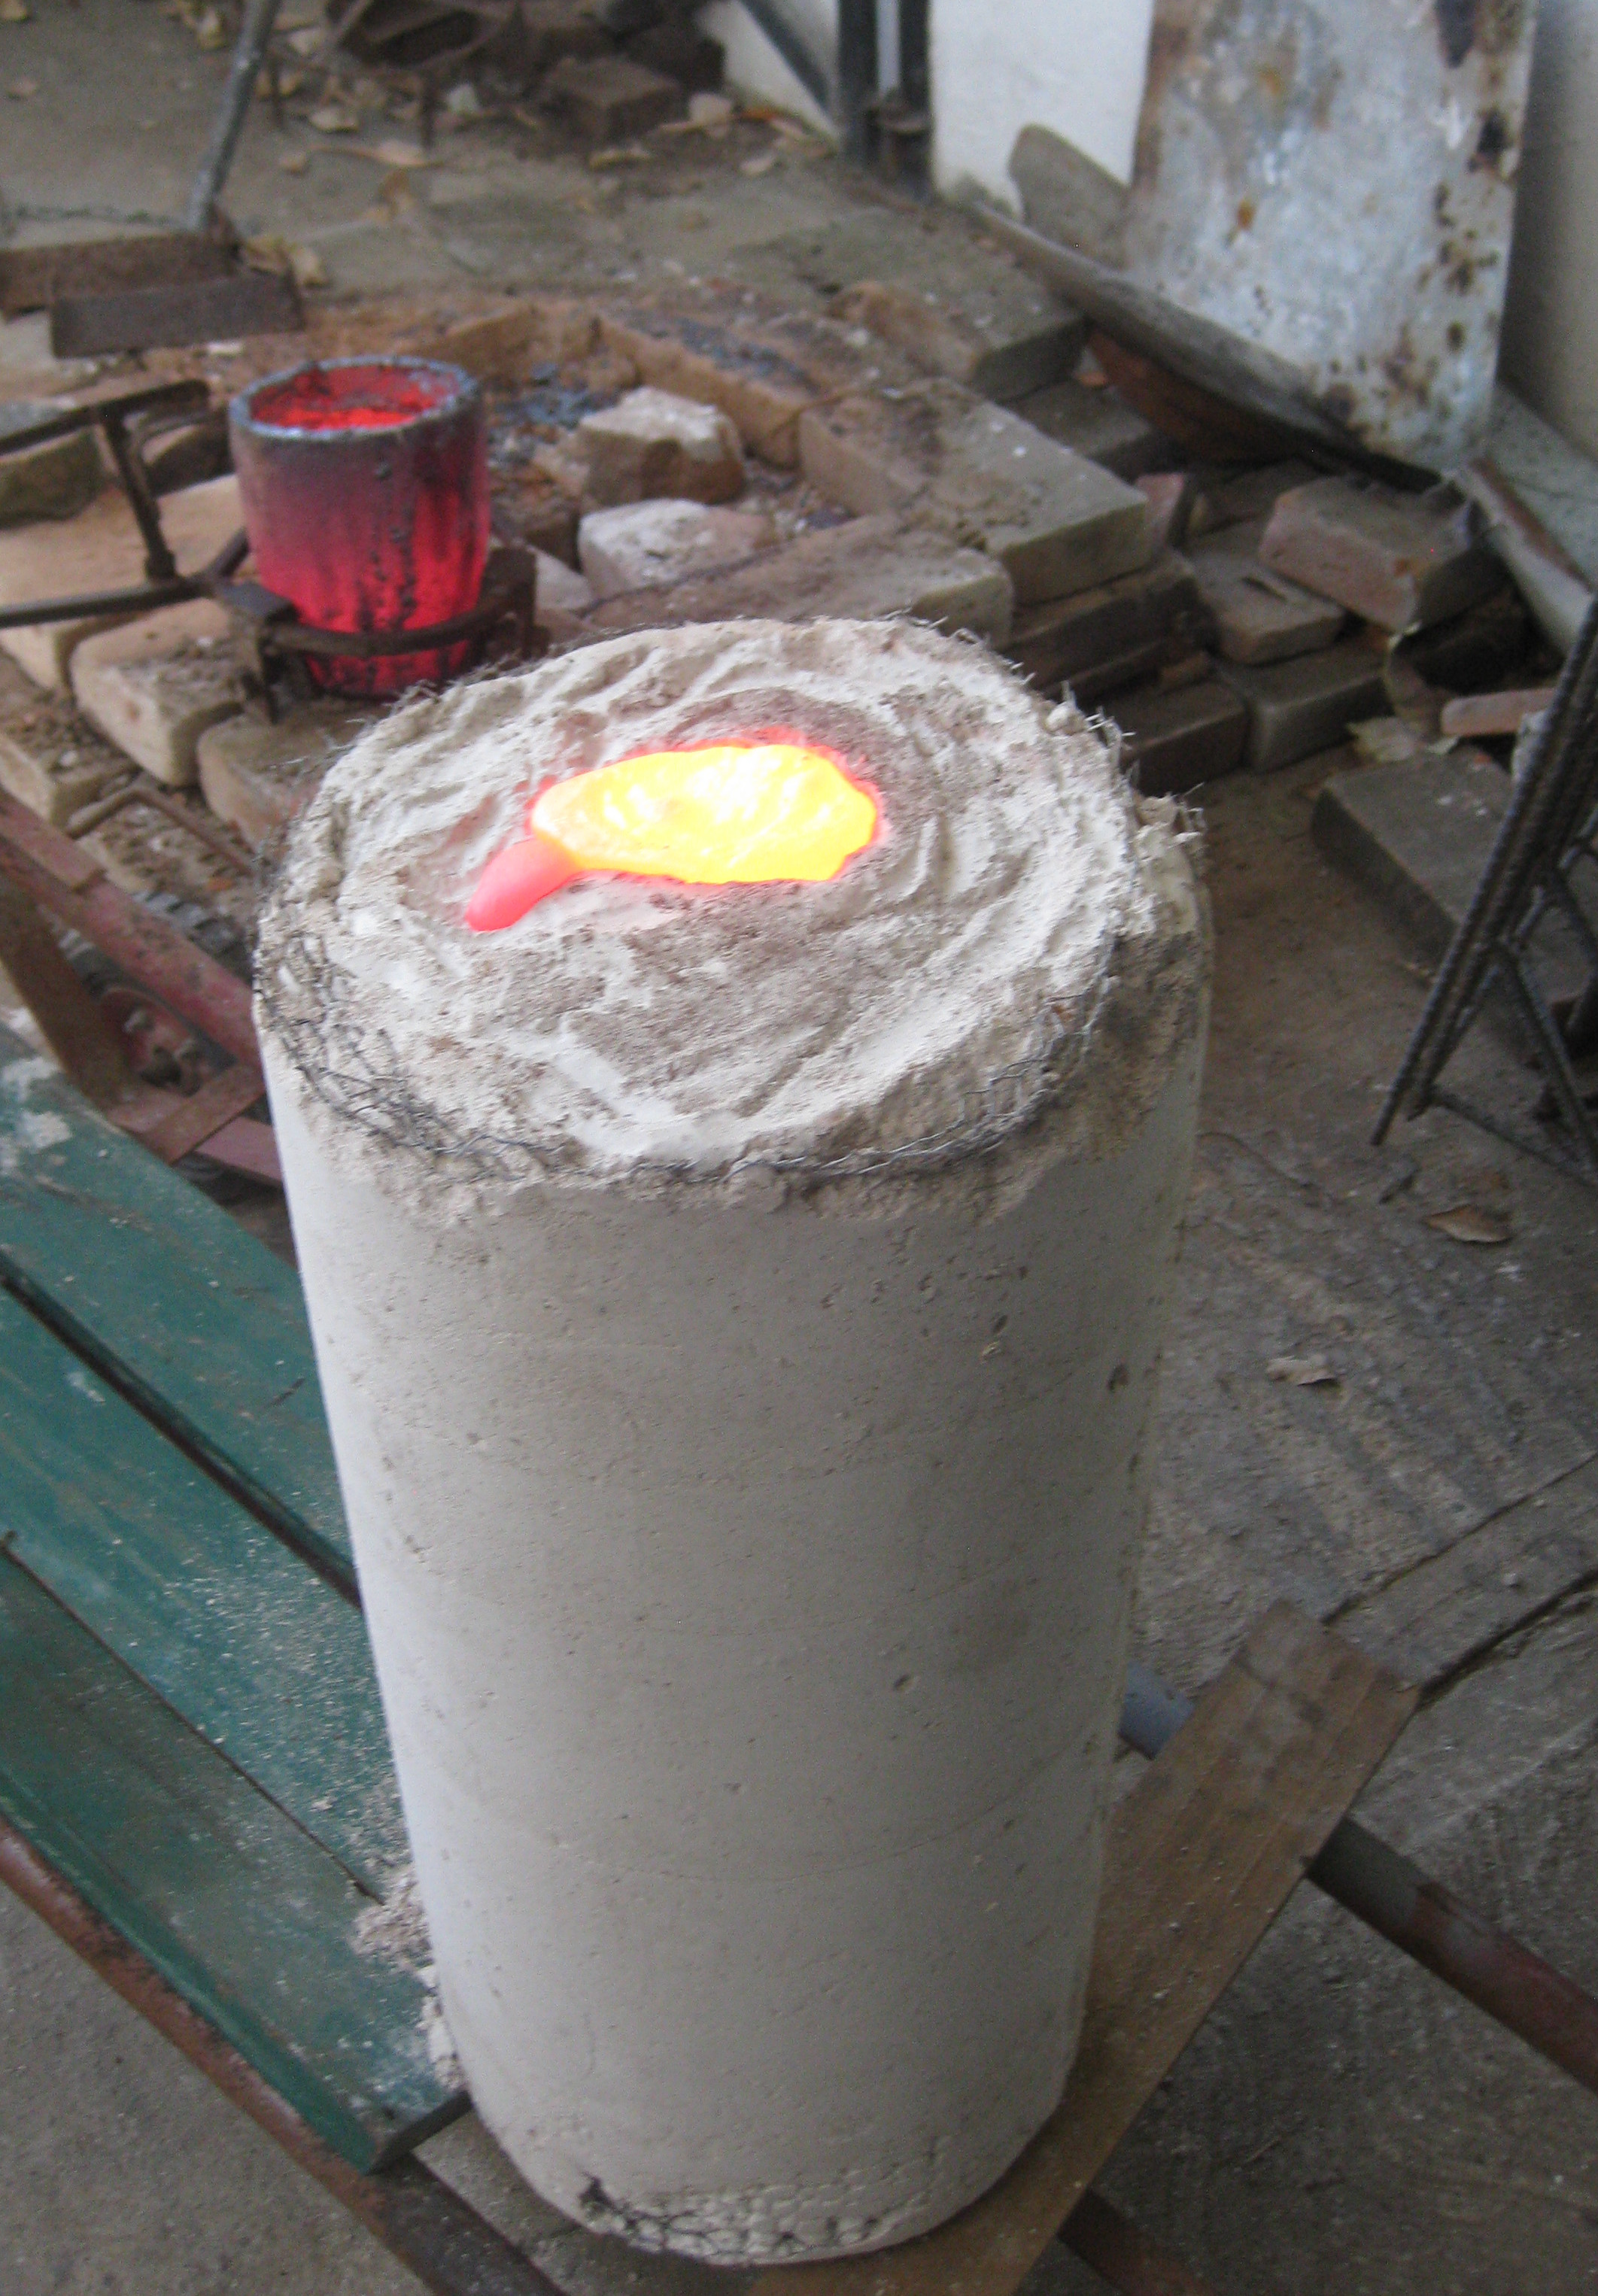
I'll bust open the investment tomorrow and see what I get. This is the scary part. After all that work it's up to the foundry gods now.
Richard
Re: Back to the foundry
Posted: Fri Jan 27, 2023 1:35 am
by latzanimal
Looking forward to this....
Re: Back to the foundry
Posted: Fri Jan 27, 2023 10:49 am
by Rasper
I busted her out this morning.
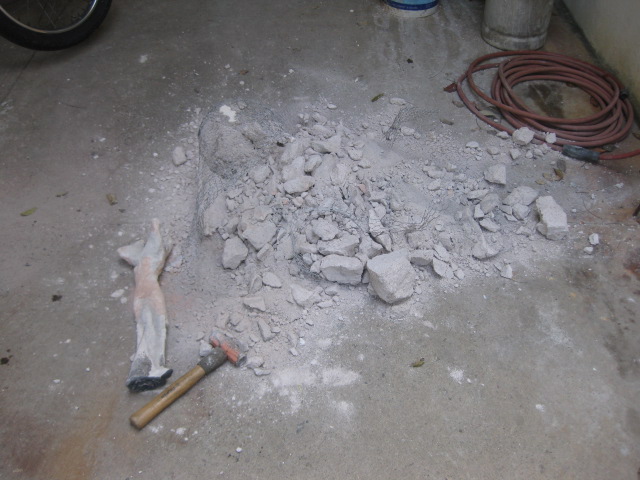
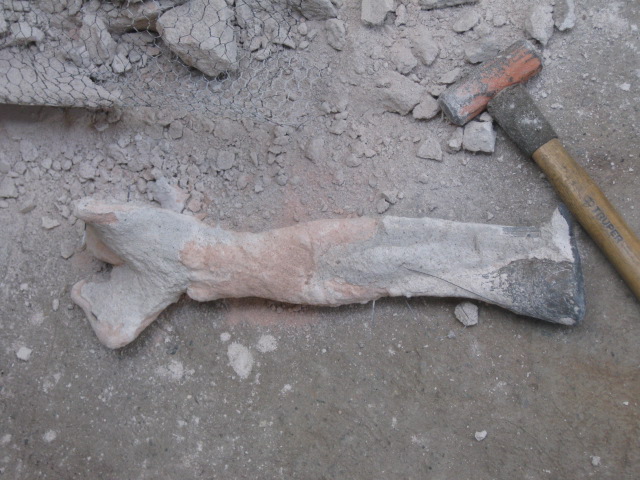
Okay, so far so good. I then asked my house man to clean her up with the power washer.
I was afraid to watch.
When he brought her to me...
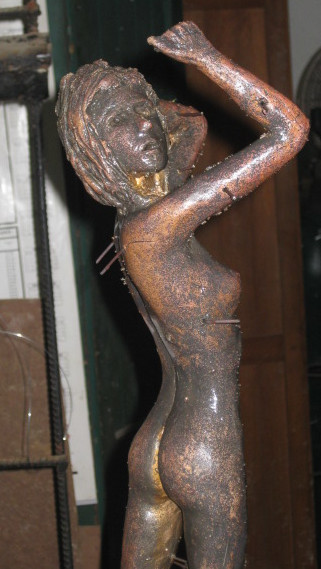
And another shot with more dramatic lighting:
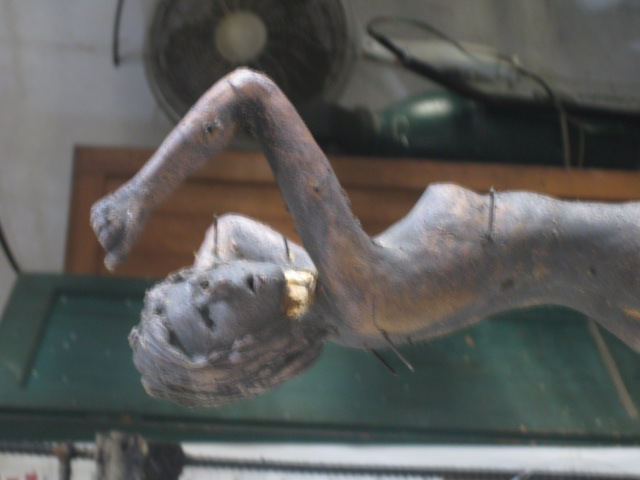
Re: Back to the foundry
Posted: Fri Jan 27, 2023 11:05 am
by Jammer
Looks really good. Do you see any voids?
Re: Back to the foundry
Posted: Fri Jan 27, 2023 4:01 pm
by Rasper
No voids. Some normal flashing, and the need to fill the holes left by the stainless core pins. I'm always tempted to use silicon bronze welding rod instead of stainless (or galvanized nails in large castings) but I am afraid they will melt when I pour in the bronze. This is when it would be nice to have a TIG welder. I generally just drive in plugs I make from the cut-off waste. If I have to patch voids or assemble multiple sections I weld them with an oxy/acetylene torch. The principal difficulty with that is an oxy/acetylene flame is about 6500 F, whereas a TIG arc is about 35,000 F. It's pretty awesome how fast heat moves through bronze. I usually have to pre-heat a piece with one or more propane burners to almost red heat before I can melt a bead.
I'm too old for all this work. But I can't seem to stop.
Richard
Re: Back to the foundry
Posted: Fri Jan 27, 2023 11:47 pm
by latzanimal
Looks good...
Re: Back to the foundry
Posted: Tue Jan 31, 2023 3:14 am
by mite5255
Re: Back to the foundry
Posted: Sat Feb 04, 2023 5:19 pm
by Rasper
I have been hard at work on this new girl, mounting her on a base and chasing. What chasing is is the cutting off of the flashing and other bumps with a sharp chisel, and then smoothing her with very fine files. That takes a while. Then I brush her with a wire brush wheel on an electric motor.
Why do we sculptors call it chasing? Who knows? I don't. Maybe from the Italians who did a lot of bronze sculpture. Without the rubber molds we have today, they used mud and horse shit as a mold and made some pretty rough castings, and then spent a year or two with a chisel and a hammer making it into a finished piece. Most of those bronze sculptures from the Italians and the Greeks are gone now, except for the ones we find in sunken shipwrecks. Given the nature of human beings---you and me included---almost all of the ancient bronze sculptures were, at some point, melted down to make cannons. That is why we think they only worked in marble.
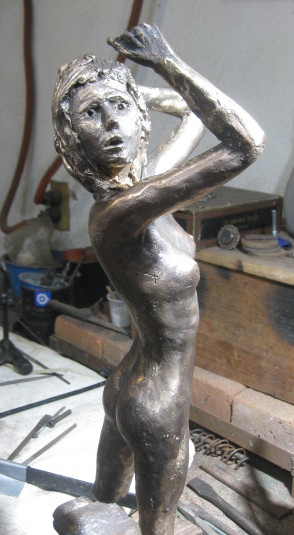
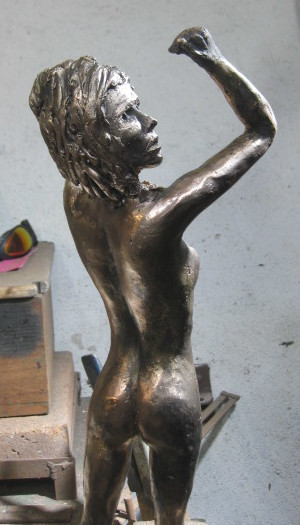
Next I have to impart some color to her.
Richard


