My first bronze casting

All About Showing Off, This is why we do what we do.
mite5255
Posts: 1740
Joined: Thu Jun 02, 2011 1:11 am
Location: Caboolture Qld Australia

My first bronze casting

Post by mite5255 »

Done my first bronze casting today, it wasn't all that successful but I sure learned more ...When I pulled the pattern from the sand the imprint wasen't all that good, but knowing the casting probably wouldn't turn out so I carried on...I think I need to pour at a higher temp :roll:
Shake out
Image

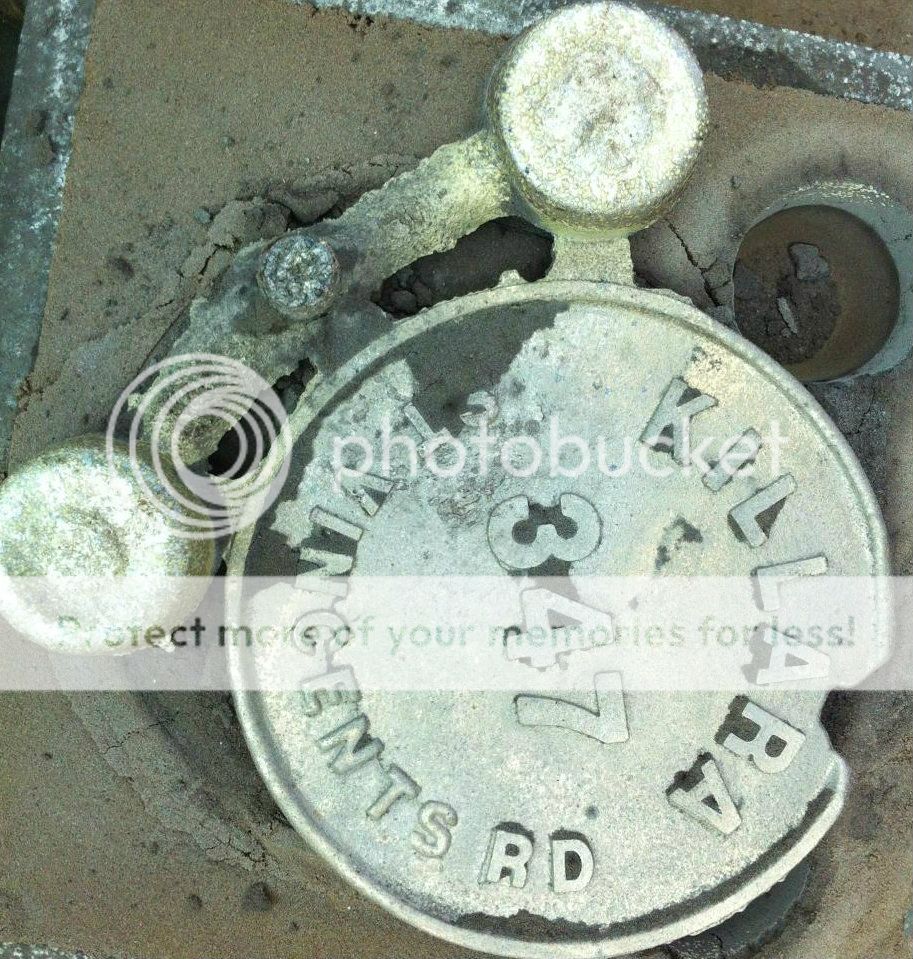
A bit of a touch up on the wire brush
Image
Last edited by mite5255 on Tue Nov 06, 2012 1:27 am, edited 1 time in total.
When life gets tough, remember: You were the strongest sperm :)
mite5255
Posts: 1740
Joined: Thu Jun 02, 2011 1:11 am
Location: Caboolture Qld Australia

Re: My first bronze casting

Post by mite5255 »

I gave the letters a bit of a polish on the linisher


Image
When life gets tough, remember: You were the strongest sperm :)
davidh
Posts: 7
Joined: Thu Nov 01, 2012 2:03 pm

Re: My first bronze casting

Post by davidh »

yesterday i did some trial pours of aluminum and added a few vent holes with thin welding wire pushed up thru the sand, hoping it would help etting the form to fill. it seemed to help. my aluminum temps were up to where its recommended they be and except for the sand problems, i was quite satisfied with the results. for the sake of information that may or may not help, the vents are what im suggesting. . .

is this for identifying where you live ? the letters look to be great. . . i hate short pours... :evil:
mite5255
Posts: 1740
Joined: Thu Jun 02, 2011 1:11 am
Location: Caboolture Qld Australia

Re: My first bronze casting

Post by mite5255 »

davidh wrote:yesterday i did some trial pours of aluminum and added a few vent holes with thin welding wire pushed up thru the sand, hoping it would help etting the form to fill. it seemed to help. my aluminum temps were up to where its recommended they be and except for the sand problems, i was quite satisfied with the results. for the sake of information that may or may not help, the vents are what im suggesting. . .

is this for identifying where you live ? the letters look to be great. . . i hate short pours... :evil:
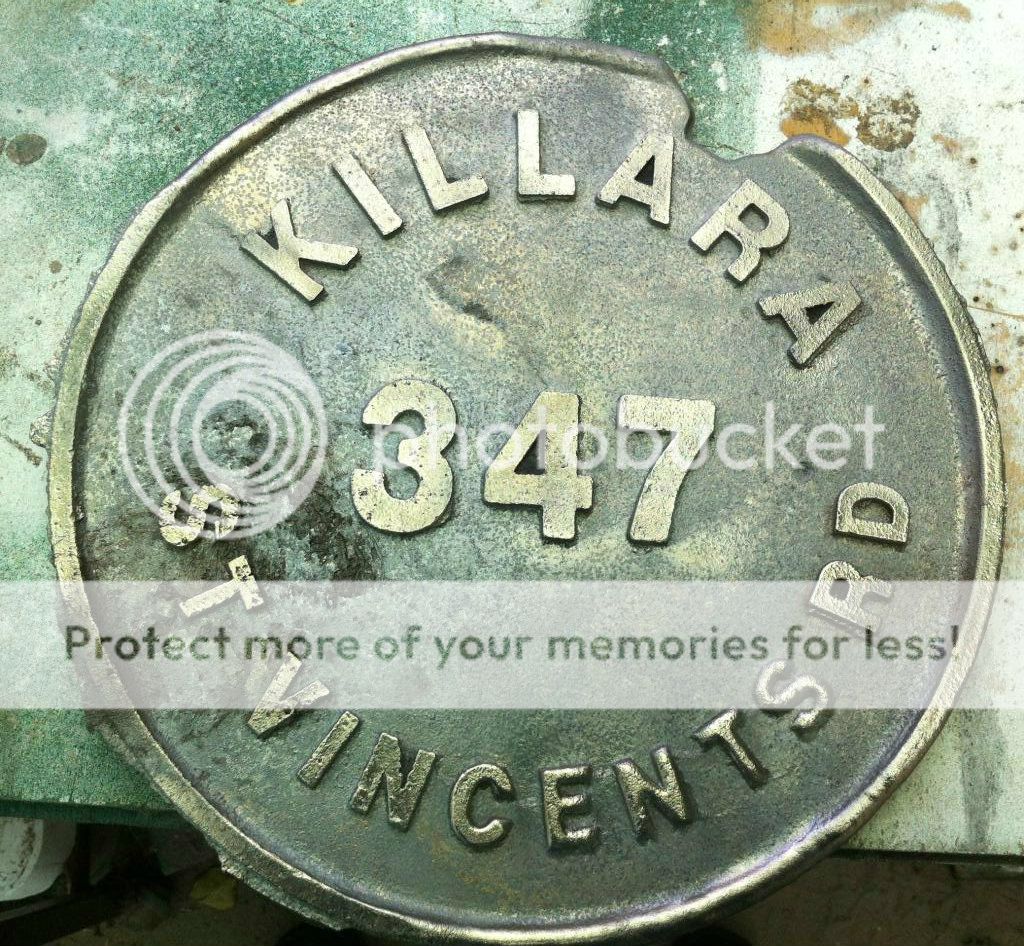
Hi Davidh...I do think its a temperature David, it was my first bronze pour and I was expecting a short pour....... The address plaque is not for me so no its not were I live :)

Mike
When life gets tough, remember: You were the strongest sperm :)
davidh
Posts: 7
Joined: Thu Nov 01, 2012 2:03 pm

Re: My first bronze casting

Post by davidh »

my first brass pours were also short. its unnerving to let the brass get past the zinc burnout phase while your waiting for it to get hotter. . . . all that smooke and fire . :)
Silverforge
Posts: 40
Joined: Mon Sep 10, 2012 12:21 pm

Re: My first bronze casting

Post by Silverforge »

David- I am getting geared up and am looking for brass and bronze temps- With Brass I have watched a couple of guys use Borax and crushed glass as a cover on the melt- do you use any?

@Mite- looks good- are you recycling bronze or is that your own formula/mix?
F.C.
Posts: 560
Joined: Sat Jun 04, 2011 10:28 am

Re: My first bronze casting

Post by F.C. »

Good ole' box of 20 mule team Borax is all I've ever used. I put a cup in on top of a melt (with the furnace off, after the melt becomes slush) and wait till the borax liquifies, then fire the furnace back up and run it till I see the melt surface "quiver" like it's being vibrated. Quivering metal is indicative of it having reached its boiling point. Don't push it farther than this. Shut the furnace off, stir the pot, remove the slag, then pour. Take a bit of time in this process as the melt is actually too hot to pour at this moment. Ideally, the crucible wall and the furnace wall should be identical in color and difficult to tell one from the other. Once you're sure the slag is clear, by this time the crucible will have cooled enough to be darker than the furnace wall, remove the crucible and pour.
mite5255
Posts: 1740
Joined: Thu Jun 02, 2011 1:11 am
Location: Caboolture Qld Australia

Re: My first bronze casting

Post by mite5255 »

F.C. wrote:Good ole' box of 20 mule team Borax is all I've ever used. I put a cup in on top of a melt (with the furnace off, after the melt becomes slush) and wait till the borax liquifies, then fire the furnace back up and run it till I see the melt surface "quiver" like it's being vibrated. Quivering metal is indicative of it having reached its boiling point. Don't push it farther than this. Shut the furnace off, stir the pot, remove the slag, then pour. Take a bit of time in this process as the melt is actually too hot to pour at this moment. Ideally, the crucible wall and the furnace wall should be identical in color and difficult to tell one from the other. Once you're sure the slag is clear, by this time the crucible will have cooled enough to be darker than the furnace wall, remove the crucible and pour.
Thanks for the info Frank, thats very helpful

Mike
When life gets tough, remember: You were the strongest sperm :)
F.C.
Posts: 560
Joined: Sat Jun 04, 2011 10:28 am

Re: My first bronze casting

Post by F.C. »

Mike, your gating and resevoirs look fine on the feeding end, rather than perforate a bunch of holes on the back side of the piece simply add a short gate and riser off the opposite end and that would do the trick. The more you perforate the mold sand the more chance you have at causing loose grains of sand to fall into the face of the mold when you put the two halves together. Looks to me like you did a spot on job during the ramming phase and release of your pattern. Very impressive to achieve such detail and pull off such sharp corners on those letters (both outer edges and interior edges). Something to consider for future work like this, if your pattern is securred to a back board drill some 16 penny nail holes (at least four) at all corners at the edges of your pattern board where the holes will be within an inch inside the inner wall of your sand flask. After you ram up the face of the mold, then flip it over to do the back, once the back is done and removed, insert a nail into each hole of the pattern board and press it firmly till its head reaches the back of the board. Then rap a few times on the back of the board with a blunt instrument (not hard, just get it's attention) then place your phone on vibrate onto the back of the pattern board, hit the vibrate action button and then steadily lift the pattern board (with phone atop) straight off the sand. The nails will give guidence and sturdiness to keep you from lifting one side higher than the other plus will keep you from shifting it sideways during the lift. The vibrations will ensure no sand gets stuck to the pattern itself.

beautiful work, though, what did come out. ;)
mite5255
Posts: 1740
Joined: Thu Jun 02, 2011 1:11 am
Location: Caboolture Qld Australia

Re: My first bronze casting

Post by mite5255 »

Thanks Frank and as per usual your advise is worth bottling :D ....Rasper advises ( another whose advise is worth bottling )that I'm using a very difficult alloy to cast with ( phosphor bronze ) and I'm just about to take his advise and get myself some silicon bronze as I am having a few dramas trying to cast this plaque

Mike
When life gets tough, remember: You were the strongest sperm :)
Post Reply