Aluminum Flask

Where function is king.
dallen
Posts: 2321
Joined: Sat Jun 04, 2011 9:06 am
Location: Oklahoma

Re: Aluminum Flask

Post by dallen »

well here it is all filled up with alingment pins that are probably too snug, may have to go a couple thousands bigger on the hole, but all n all I'm pretty satisfied with the way it turned out, takes about 40 pounds of sand to fill it up give or take a pound or two. I may pour it in the morning depends on if they get the grass fires out that are burning north of me a couple miles, hope the wind don't shift around and come out of the north, and push it back at me.

http://s1222.photobucket.com/albums/dd4 ... 1/8-31-11/

Image
David and Charlie aka the shop monster

If life seems normal your not going fast enough" Mario Andrette
User avatar
Harry
Site Admin
Posts: 1028
Joined: Fri Apr 16, 2010 10:15 am
Location: Onyx California
Contact:

Re: Aluminum Flask

Post by Harry »

Nice, wish my sand still looked like that... hehe, just seems better when it is pretty but in reality it gets better with use. The tight pins are good as long as they go together and come apart, they will loosen up on their own. Maybe use a little plumbago on them if they are sticky.

Did 11 molds today, 8 - 15" and 3 - 7 x 17, that was about 700 lbs of sand for 50 lbs of metal poured.
I'd rather laugh with the sinners than cry with the saints the sinners are much more fun...
Muller
User avatar
4cylndrfury
Posts: 140
Joined: Thu Jun 02, 2011 10:09 am
Location: Cincinnati, Ohio, USA

Re: Aluminum Flask

Post by 4cylndrfury »

looks great! I think I might actually have a little time today to try to cast a set for at least 1 half a flask (as in 1 cope). This thread has been the push I needed, Thanks D!!!
"Simplicity is the ultimate sophistication"
-Leonardo Di Vinci

"The future's uncertain and the end is always near...."
-Jim Morrison
dallen
Posts: 2321
Joined: Sat Jun 04, 2011 9:06 am
Location: Oklahoma

Re: Aluminum Flask

Post by dallen »

yea well after casting all those side plates and fixing the angles an pins, I found the other damn side pattern this morning. I don't know if I want to be mad, happy, or just teed off about it. I put a lot of work into that damn pattern and for it to go hide till I worked around and finished the flask sucks.

Oh well I made the pin boss on it to small anyway. will post a pic sometime today.
David and Charlie aka the shop monster

If life seems normal your not going fast enough" Mario Andrette
User avatar
Harry
Site Admin
Posts: 1028
Joined: Fri Apr 16, 2010 10:15 am
Location: Onyx California
Contact:

Re: Aluminum Flask

Post by Harry »

David, did you give any thought to or do anything special in getting the pins precisely located so once you have made more flasks one will fit the other or the bottoms from others can be used as cheeks (thats where I am hoping using channel for the handle will work out well)

This is the one place that kind of has me baffled but then I am probably thinking it needs a higher level of precision that it does in reality. What I figured was for any given size make the first one the alpha, maybe a splash of color to signify this then use it as a fixture for assembling future flasks, just oversize the holes on the handle and snug it down while it is assembled with the mating half of the alpha.
I'd rather laugh with the sinners than cry with the saints the sinners are much more fun...
Muller
dallen
Posts: 2321
Joined: Sat Jun 04, 2011 9:06 am
Location: Oklahoma

Re: Aluminum Flask

Post by dallen »

I didn't give that part of it really any thought, but if I was to do that I would make pin bushings that I could adjust. By that i mean I would take say a 1" hex turn it down and thread it for say 3/4 X 16 then drill a 3/8 or 1/2 inch pin hole in it, put a 7/8 hole in the support, then once you stack em, and align em, you just tighten down the bushings. and all is in alignment if you make a master or use just one to set the pins and bushing. Or it would only take a minute to make adjustments for cheeks.

This being a first, It will probably be and orphan with no more made like it. too many things I should of done differantly the end with the 90 degree turn for one
David and Charlie aka the shop monster

If life seems normal your not going fast enough" Mario Andrette
dallen
Posts: 2321
Joined: Sat Jun 04, 2011 9:06 am
Location: Oklahoma

Re: Aluminum Flask

Post by dallen »

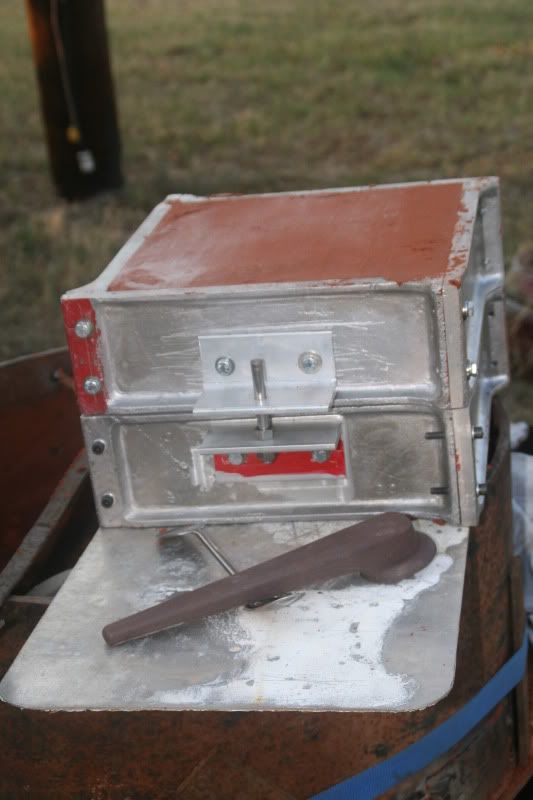
this post probably goes somewhere else, but I'm going to put it here because it shows the new flask that I made with castings, which by the way I'm pretty happy with, it does have some wrinkles that need to be worked out in a new flask, which is by the why going to happen pretty quick. ramming up 4 inches of sand is crap when you really only need two so I gotta make at least one two inch high and maybe a three inch one.

Now back to the reason for this post, (pause coffee time) somewhere I posted some pics of the flask full of sand, the part was a new handle for my recliner (old one screw broke off and it started spinning) square plastic hole didn't hold up.

So I casted up a handle with no thought to the square hole needed, so I started to mill the hole out (got it too big) so another round with the pattern and the furnace and this time I inserted a piece of a 1/2 inch lathe tool I cut the carbide off of into the works.

http://s1222.photobucket.com/albums/dd4 ... 1/8-31-11/

Note First two pictures in the linked to album.

I have already pulled the steel form tool out, guess you could call it that, the core. number one thing to do it to make sure the part your going to pull out after you pour molten metal around it doesn't have any setscrew pockets in it, damn drill impression, almost didn't let the handle slide off, but a few good whacks with a persuader fixed that little hiccup.

Anyway I get to repour the handle the steel cause it to pour short, and I have a gas pocket of shrink that is on the long side of the casting against the steel core, this may of been caused by some oil that was in the drill bit pocket, its not to big a problem except that if I wanted to put a set screw in the original position which is in line with the handle, it would cause the handle to pitch outwards.

Plus I have to figure out why when I flip the flask and dig down to the part that when I coat with parting powder and reram sand into the depression that its not ramming up tight, opinions anyone, hints, tricks, do I ram the sand in to surface level first, gotta go dig the books out again.
David and Charlie aka the shop monster

If life seems normal your not going fast enough" Mario Andrette
User avatar
Harry
Site Admin
Posts: 1028
Joined: Fri Apr 16, 2010 10:15 am
Location: Onyx California
Contact:

Re: Aluminum Flask

Post by Harry »

I dont think the sand is going to get very tight in a coped down situation David. Probably because it is not being pounded against a very solid surface with the sand giving a little as you pound it in. Plus I tend to not pounds as hard into a coped mold so I dont cause the pattern to shift. I dont think this is any problem though as long as it holds when you part the mold, if you are having trouble with it staying together maybe try pushing into the coped portion with your fingers to fill it in also I put a slow taper out from a coped down area if there is room in the flask for it.
I'd rather laugh with the sinners than cry with the saints the sinners are much more fun...
Muller
dallen
Posts: 2321
Joined: Sat Jun 04, 2011 9:06 am
Location: Oklahoma

Re: Aluminum Flask

Post by dallen »

the flaring out is one of the things that I need to do I haven't been opening it up very wide as can be seen in the photo's. the one area that I can't flare it out is at the head where the square hole is, but thats where I need to pour in at or close to that head.
David and Charlie aka the shop monster

If life seems normal your not going fast enough" Mario Andrette
User avatar
4cylndrfury
Posts: 140
Joined: Thu Jun 02, 2011 10:09 am
Location: Cincinnati, Ohio, USA

Re: Aluminum Flask

Post by 4cylndrfury »

I think usually this is where a follower comes into play, it lets you get a very flat part line compared to really coping down that deep which gives steeper angles to your part line. I agree with harry that a coped part line allows the sand to shift while you ram, so again, I think a flatter coped parting line is best. It still looks pretty great! Maybe once you get the coping and core worked out, you could cast in bronze, then adding some petina/gun bluing would really make it sizzle. Again, looks great!
"Simplicity is the ultimate sophistication"
-Leonardo Di Vinci

"The future's uncertain and the end is always near...."
-Jim Morrison
Post Reply

Return to “Part Castings”